This blog aims to assist installers, builders, specifiers, architects and project managers with setting out (determining the set-out points) before and during the installation of SUPAWOOD MAXI Beams, WAFFLE BLADES & WAVE BLADES.
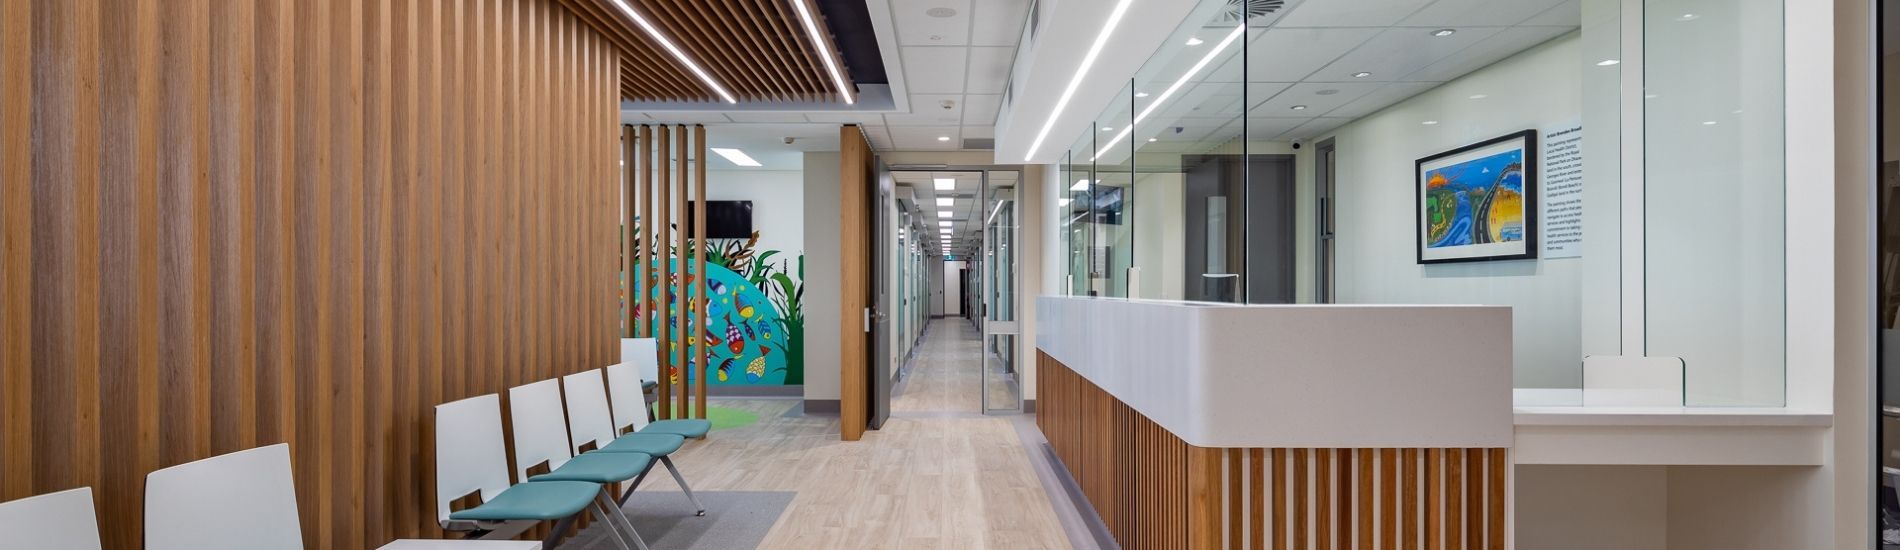
MAXI BEAM lightweight timber beam system enables designers and installers to achieve the aesthetics of long-lasting, natural beauty of natural wood without the challenges of working with heavy, solid structural timber beams. Choose from our extensive range of timber ceiling beams and wall beams, available in many different sizes, shapes and finishes, designed to suit your requirements.
WAFFLE BLADES is a cost-effective architectural ceiling system that seamlessly achieves striking geometric effects. From the dazzling cross, saltire and box patterns to complex multi-point starbursts, if you can imagine it, it’s possible with Waffle Blades. Waffle Blades opens an incredible array of design possibilities without compromising services, access or your budget.
WAVE BLADES are SUPAWOOD’s prefinished contoured wooden blade system for feature walls and ceilings. In the past, creating sculpted or contoured ceilings and walls was challenging, but now Supawood offers 3D modelling services for our contoured wooden blade features.
Choosing set-out points
Determining the set-out point is a crucial aspect of installation when using SUPAWOOD MAXI Beams, WAFFLE BLADES & WAVE BLADES.
When specifying a SUPAWOOD product, all architectural beams and blades may have custom spacing. Hence, set-out points in one direction are to be determined by accounting for the specified panel spacing and the dimensions of the installation area.
Here are some setting-out suggestions for obtaining an even joint line to all perpendicular or perimeter surfaces:
Multiple set-out points. When faced with areas with numerous set-out points, choose the most prominent door, entry or window and set your slats from the centre of that visual point. Although having multiple set-out points will result in different perimeter joint sizes, it is easy enough to calculate the range of perimeter joints - for reference with the architect.
Note: See SUPAWOOD’s recommended external corner details for the different profiles of timber beams and timber blades.
Centred set-out points. Using the centreline as the set-out point of the space is recommended when you have standard-size panels that don’t have to align with anything in particular. This approach suits slatted panels very well with equal or close to identical infill panels.
Single set-out point. Architects often specify a singular set-out point, which may align with a prominent item in the room. E.g. a column. The best set-out point for L-shaped rooms is generally the inside corner of the L. Note: you may have one or two surfaces with different perimeter joints. Again, this set-out method suits decorative timber beams and timber feature blades.
Combination. You may have a variety of the above in one room; for example, timber beams on one side of the room may need to align with doorways, but on the other end of the room, the decorative beams can be full-size with infills. In this case, you must set out your panels from the doorway.

Blades to be set out from doorway.
Steps for Marking Set-out Points
- Double-check the latest architectural plan or shop drawing to ensure you have included any particular nominated set-out point.
- Double-check the final ceiling/ wall levels with the builder – these may even change from the plans to allow for services that take up more space than expected.
- Mark the set-out point on site on the floor or wall precisely where it will end up. This means you may need to allow for the thickness of packing, framing, cross battens and slats against adjoining walls, perpendicular surfaces, etc., so that the slat corner, edge and centre of the decorative lining system will end up precisely where you have marked it.
- Ensure you have marked the set-out point so that someone can’t cover it over or erase it. If possible, make more than one mark, e.g. mark the other corners of the first panel.
Marking Remaining Panels
- Mark the set-out point on site on the floor or wall precisely where it will end up. This means you may need to allow for the thickness of packing, framing, and finish of adjoining walls, perpendicular surfaces, etc. so that the beam or blade corner/ edge/ centre will end up precisely where you have marked it.
- Double-check the latest architectural plan or shop drawing to ensure you have included any particular nominated set-out point.
- Double-check the final ceiling/ wall levels with the builder – these may even change from the plans to allow for services that take up more space than expected.Note: In the case of beams and blades, Supawood can provide rectangular cutouts in the back of beams or blades to allow for services that are coming down too low.
Marking remaining beams/blades
This is generally unnecessary, as timber beams and blades do not have any special alignment points side to side, and end to end can have staggered or non-aligned joins. However, some exceptions exist.
- Critical end of beam/ blade points. For example, if the ends of the timber beams/ blades align with a curved bulkhead or the like, the endpoints are critical and must be marked out so that you can get precise measurements. An easier option that most contractors prefer is to cut beams/ blades at end-to-end joints or to build curved bulkheads or perimeter features after installing the timber beams/ blades.
- Waffle Blades. Waffle Blades need critical setout done in both directions, as once the blades interlock, there is no room for adjustment.
Determine Framing Position
Your framing must be perpendicular to the beam/ blade direction.
The centres of your framing members will be 600 to 1200mm centres, depending on the beam/ blade weight. Speak to your Supawood Project Manager if you need more clarification.
Plan where you may need to do special framing, for example, long spans underneath services, prefabricated shaped or curved framing sections, or bulkheads you will need to build. Some situations may require special panel modifications, so review these with your Supawood Project Manager.
We would love to help you with your next project. If you have a challenge with structural timber beams that you would like us to help you with, please contact us here.
We would love to help you with your next project. If you have a challenge right now that you would like us to help you with, please contact us here.
Disclaimer: All the information on this website - www.supawood.com.au - is published in good faith and for general information purpose only. Supawood does not make any warranties about the completeness, reliability, and accuracy of this information. Any action you take upon the information you find on this website (Supawood), is strictly at your own risk. Supawood will not be liable for any losses and/or damages in connection with the use of our website.
From our website, you can visit other websites by following hyperlinks to such external sites. While we strive to provide only quality links to useful and ethical websites, we have no control over the content and nature of these sites. These links to other websites do not imply a recommendation for all the content found on these sites. Site owners and content may change without notice and may occur before we have the opportunity to remove a link that may have failed.
Consent: By using our website, you hereby consent to our disclaimer and agree to its terms.