This blog aims to assist installers, builders, specifiers, architects and project managers with setting out (determining the set-out points) before and during the installation of SUPAWOOD SUPATILE DIT (Drop-in Ceiling Tiles), SUPATILE SLAT, SUPATILE 3D.
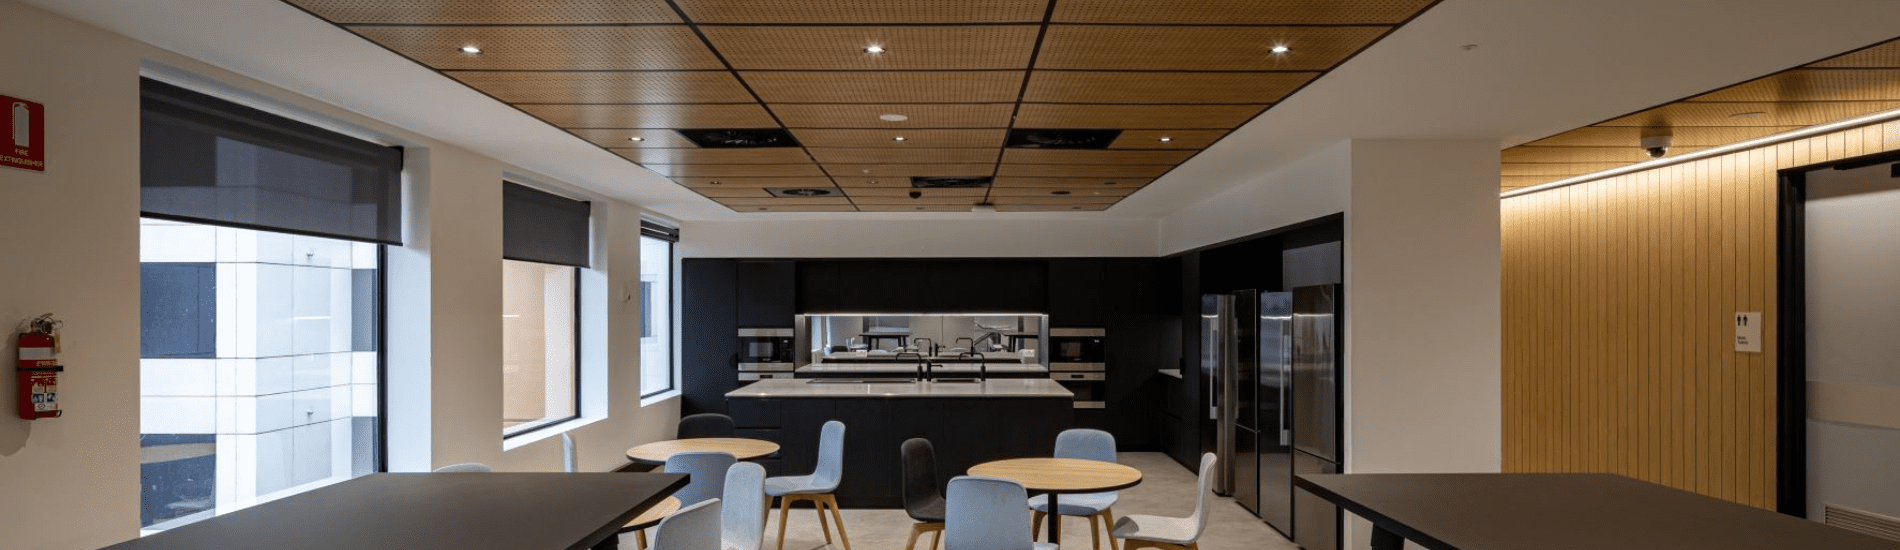
SUPATILE Drop-in Ceiling Tiles (DIT) are a prefinished drop-in ceiling tile system that combines modern aesthetics, Fire Group 1, 2 and 3 ratings. Ideal for retrofitting existing and outdated drop ceiling grids - simply remove the old tiles and replace them with SUPATILE DIT to achieve a refreshed visual appeal and design flexibility with cost-effective, rapid installation.
SUPATILE SLAT is a timber slat ceiling system that fits into traditional, exposed two-way T-bar grids and can accommodate any shape or size of the room and floating ceiling areas.
SUPATILE 3D drop ceiling tiles vastly expand your design options while simplifying installation and eliminating the potential for cost overruns. SUPATILE 3D ceiling tiles fit into the standard (or existing) grid and provide full access to the ceiling cavity.
Choosing Set-out Points
Correctly determining the set-out point is a crucial aspect of installation when installing architectural lining systems, including 3D Ceiling Tiles, Drop In Tiles or Slatted Ceiling Tiles.
All SUPATILE products are manufactured to fit a 600 x 600 or 1200 x 600 grid. All SUPAWOOD architectural 3D ceiling tiles have recommended spacing provided in the product specifications.
Centred set-out points. Using the centreline as the set-out point of the space is recommended when you have standard-size panels that don’t have to align with anything in particular. This approach suits SUPATILE products with equal or close to identical infill panels.
Architects often specify a singular set-out point, which may align with a prominent item in the room. The best set-out point for L-shaped rooms is the inside corner of the L. Note: you may have one or two surfaces with different perimeter joints. This method suits decorative 3D ceiling tiles, timber slat ceiling tiles, and drop-in ceiling tiles.
Multiple set-out points. When faced with areas with numerous set-out points, choose the most prominent door, entry or window and set your 3D ceiling tiles from the centre of that visual point. Although having multiple set-out points will result in different perimeter joint sizes, it is easy enough to calculate the range of perimeter joints - for reference with the architect.

Panels centred in room
Steps for Marking Set-out Points
- Double-check the latest architectural plan or shop drawing to ensure you have included any particular nominated set-out point.
- Double-check the final ceiling/ wall levels with the builder – these may even change from the plans to allow for services that take up more space than expected.
- Mark the set-out point on site on the floor or wall precisely where it will end up. This means you may need to allow for the thickness of packing, framing, cross battens and interior ceiling tiles against adjoining walls, perpendicular surfaces, etc., so that the tile corner, edge and centre of the decorative lining system will end up precisely where you have marked it.
- Ensure you have marked the set-out point so that it can’t be covered over or erased by someone. If possible, make more than one mark, e.g. mark the other corners of the first timber slat ceiling tile, drop in a ceiling tile or 3D ceiling tile.
Marking Remaining Panels
- Mark the set-out point on site on the floor or wall precisely where it will end up. This means you may need to allow for the thickness of packing, framing, and finish of adjoining walls, perpendicular surfaces, etc. so that the beam or blade corner/ edge/ centre will end up precisely where you have marked it. Watch out for joint intersections, e.g. bulkheads.
- Double-check the latest architectural plan or shop drawing to ensure you have included any particular nominated set-out point.
- Double-check the final ceiling/ wall levels with the builder – these may even change from the plans to allow for services that take up more space than expected.
- You can then build your grid based on your checked set-out point. No further marking is necessary.
Determine Framing Position
Finally, you have decisions to make with your framing installation when installing timber slat ceiling tiles, drop-in ceiling tiles or 3D ceiling tiles:
- What direction does your framing need to run? For example, will your framing run parallel with the long side or the short side of the panel
- What centres does your framing need? Check you have used a 25mm grid that is appropriate for the weight of the panel you are installing, which your Supawood Project Manager can supply if you need it. In the case of a grid ceiling, this would either be at 600mm or 1200mm centres, with the grid at 600mm centres being able to support heavier panels.
- Plan special framing arrangements. Plan where you may need to do special framing, for example, long spans underneath services or bulkheads you will need to build.
We would love to help you with your next project. If you have a challenge right now that you would like us to help you with, please contact us here.
Disclaimer: All the information on this website - www.supawood.com.au - is published in good faith and for general information purpose only. Supawood does not make any warranties about the completeness, reliability, and accuracy of this information. Any action you take upon the information you find on this website (Supawood), is strictly at your own risk. Supawood will not be liable for any losses and/or damages in connection with the use of our website.
From our website, you can visit other websites by following hyperlinks to such external sites. While we strive to provide only quality links to useful and ethical websites, we have no control over the content and nature of these sites. These links to other websites do not imply a recommendation for all the content found on these sites. Site owners and content may change without notice and may occur before we have the opportunity to remove a link that may have failed.
Consent: By using our website, you hereby consent to our disclaimer and agree to its terms.